
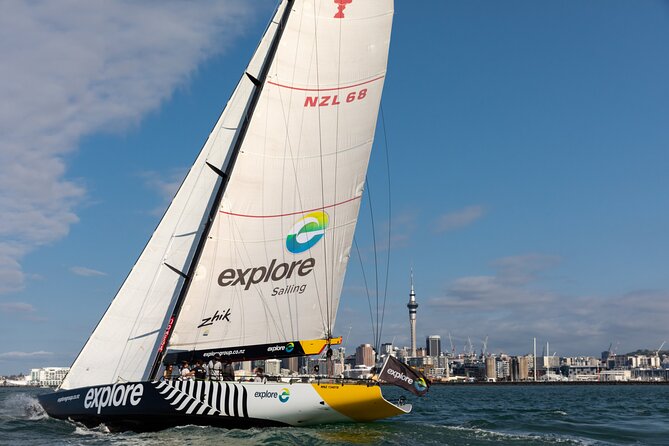
The harbour comes first.
Ferries to Waiheke, a dawn coach to Hobbiton, black sand at Piha, glowworms two hours south. What each day out is actually like, what it costs, and where to book it.
Seven that fill a first week.
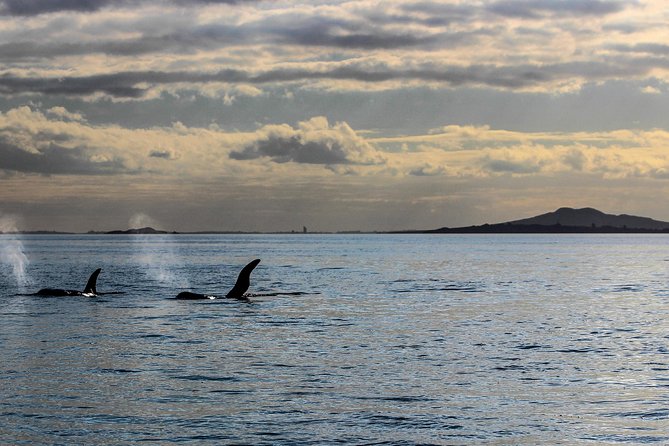
Hobbiton at opening time before the coaches stack up, the Waiheke ferry with a vineyard lunch waiting at the other end, orca in the Hauraki Gulf on a good morning. These are the ones people come home talking about.
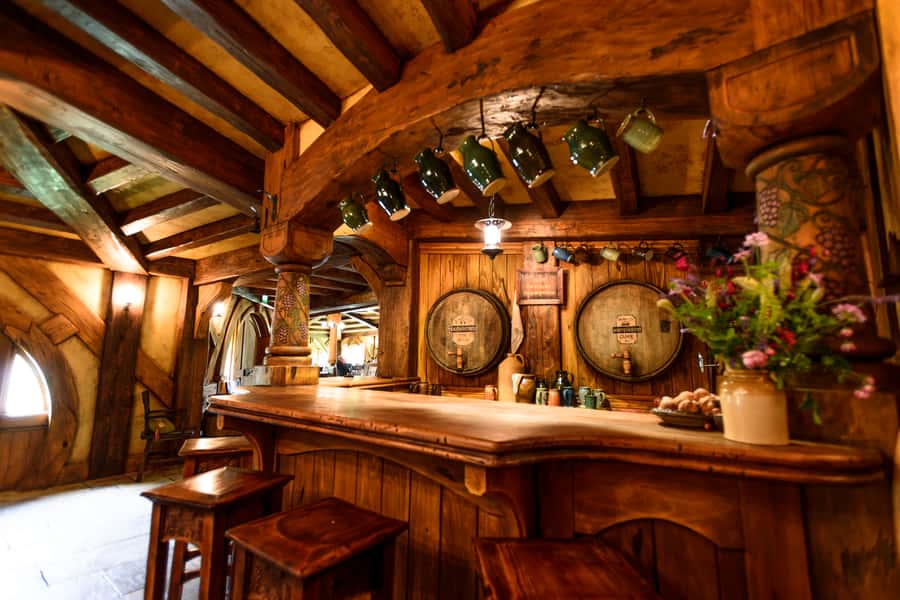
From Auckland: Hobbiton & Waitomo Caves Day Trip with Lunch
Hobbiton and Waitomo in one Auckland day trip, with a small group, skip-the-crowds Hobbit tour, glowworm boat ride, lunch, and a Green Dragon drink.
From $221 per person
Read the review →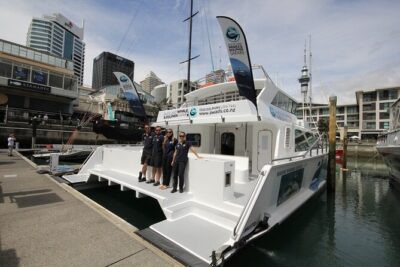 ★ 4.5Books out earlyAuckland Dolphin and Whale Watching Eco-Safari CruiseFrom $1351,790 reviews
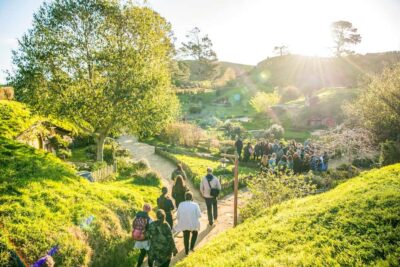 ★ 4.8Harbour classicHobbiton Movie Set Day Trip with Festive LunchFrom $1821,431 reviews
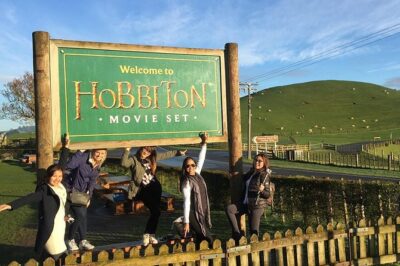 ★ 5.0Crowd favouriteHobbiton Movie Set Small Group Tour from AucklandFrom $1831,380 reviews
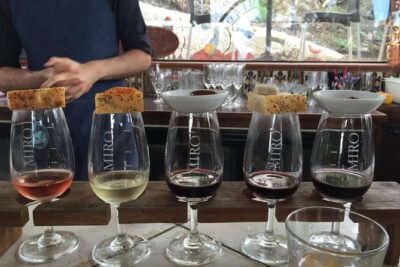 ★ 5.0Worth the early startWaiheke island Wine Tours – PREMIUM wine tasting MAX 11 clients !From $1551,378 reviews
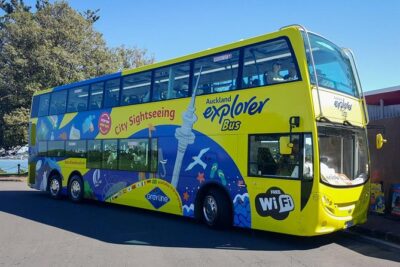 ★ 4.0Easy winAuckland Explorer: Sightseeing Hop-on Hop-off TourFrom $431,180 reviews
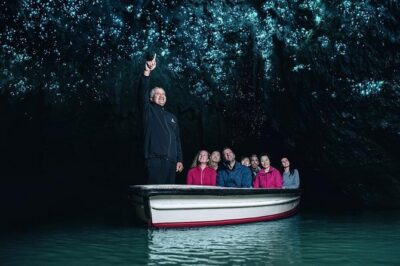 ★ 5.0Good with kidsHobbiton & Waitomo Caves Small-Group Tour W Lunch from AucklandFrom $2351,117 reviews
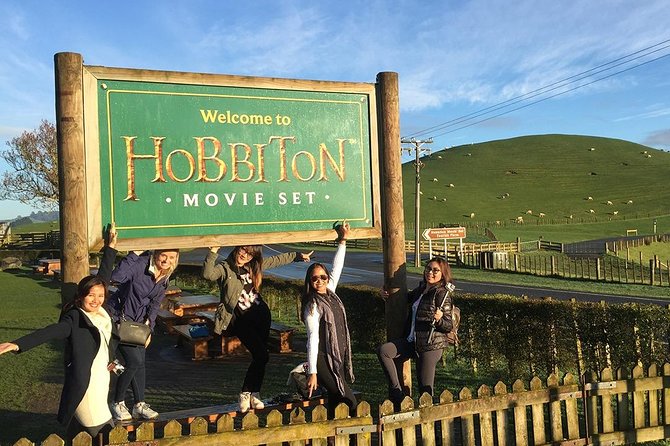
The Shire is a working farm.
Out past the Bombay Hills before the traffic builds, then forty-four hobbit holes cut into a Waikato sheep station, gardens kept in flower year round, and a half pint of the Green Dragon’s own ale at the end of the walk. Most trips fold Waitomo into the drive home.
How far south are you willing to drive?
Almost everything inland sits two to four hours down State Highway 1, so the tour you pick decides how much of the day the road takes. Three shapes of the same trip, with departure times and prices on each.
 Back by mid-afternoon
Hobbiton on its own
2h 30m · from $71 · 8,167 reviews
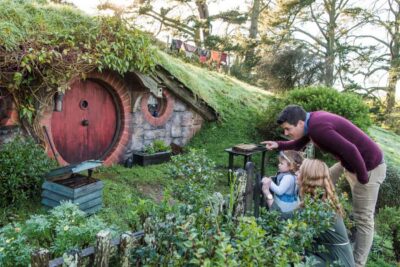
Two hours down the Waikato, ninety minutes walking the set with a guide who knows which hole belongs to whom, ale at the Green Dragon, home before the motorway clogs. The short version of the big day, and the one that leaves an evening in the city intact.
Compare the Hobbiton days →
Back by mid-afternoon
Hobbiton on its own
2h 30m · from $71 · 8,167 reviews
Two hours down the Waikato, ninety minutes walking the set with a guide who knows which hole belongs to whom, ale at the Green Dragon, home before the motorway clogs. The short version of the big day, and the one that leaves an evening in the city intact.
Compare the Hobbiton days →
 The long one
Hobbiton and Waitomo
from $229 · 2,677 reviews
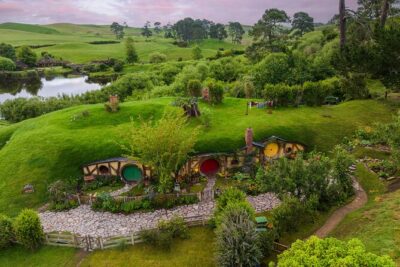
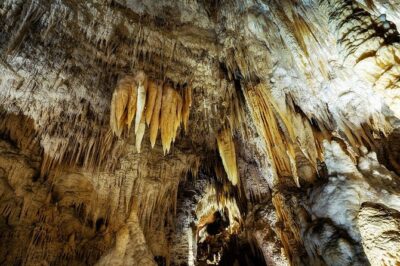
Both headline acts inside twelve hours: the farm in the morning, then a flat-bottomed boat drifting under a ceiling of glowworms in limestone that has been hollowing out for thirty million years. Lunch is included because there is nowhere out there to find your own.
See the Waitomo combinations →
The long one
Hobbiton and Waitomo
from $229 · 2,677 reviews
Both headline acts inside twelve hours: the farm in the morning, then a flat-bottomed boat drifting under a ceiling of glowworms in limestone that has been hollowing out for thirty million years. Lunch is included because there is nowhere out there to find your own.
See the Waitomo combinations →
 Steam and sulphur
South to Rotorua
from $253 · 681 reviews
Wai-O-Tapu’s mineral terraces, the Pohutu geyser at Te Puia, mud that boils in the middle of a public park. The furthest of the three and the least like Auckland; several operators bolt Hobbiton onto the front of it and make a very long, very good day.
See the Rotorua days →
Steam and sulphur
South to Rotorua
from $253 · 681 reviews
Wai-O-Tapu’s mineral terraces, the Pohutu geyser at Te Puia, mud that boils in the middle of a public park. The furthest of the three and the least like Auckland; several operators bolt Hobbiton onto the front of it and make a very long, very good day.
See the Rotorua days →
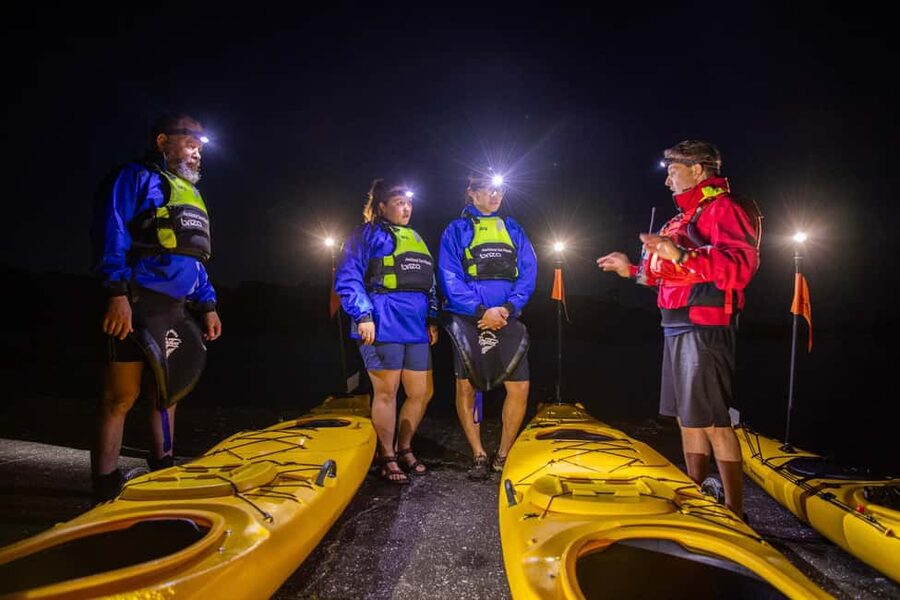
The gulf is better after dark.
Paddle out towards Rangitoto as the sun drops behind the Waitākere Ranges and come back under headlamps. Glowworms in a lava cave twenty minutes from Queen Street. Dinner served while the skyline slides past the window of a sailboat.
Waiheke is thirty-five minutes away.
The boat leaves the Downtown terminal every half hour and lands you in a wine region: syrah on a clifftop, olive groves between the cellar doors, a swimming beach whenever the tasting notes stop making sense. Book the tour and the driving problem solves itself.



Black sand and kauri forest.
Piha’s iron sand burns your feet in February and the surf breaks hard all year under Lion Rock. Behind the beach the Waitākere Ranges close over the road, and the gannet colony at Muriwai nests close enough to smell.
The city is built on a volcanic field.
Rangitoto rose out of the Hauraki Gulf about six hundred years ago and people on the shore watched it happen. Maungawhau still holds its crater above the suburbs. Under the streets there are lava caves with glowworms in them, and the ferry reaches the newest cone in twenty-five minutes.
Pick a direction, then a day.
The city runs out fast whichever way you turn, and each direction is its own trip. Waiheke for vineyards. Piha for black sand. Devonport for the ferry and the view back. Rangitoto for the climb over the lava.
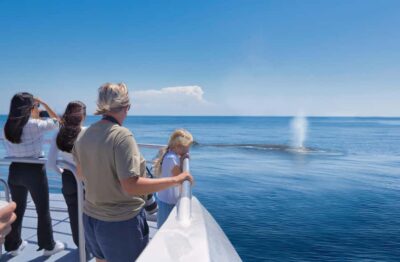
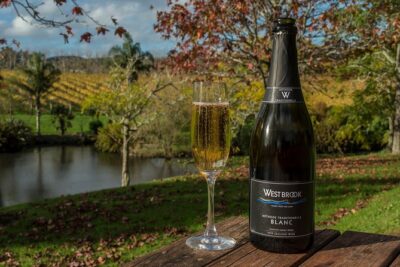
Boat, van, kayak or your own two feet.
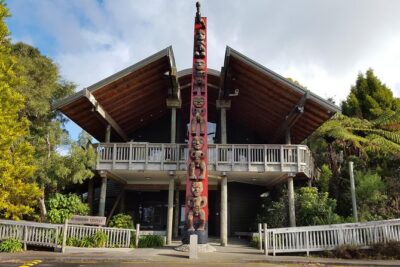
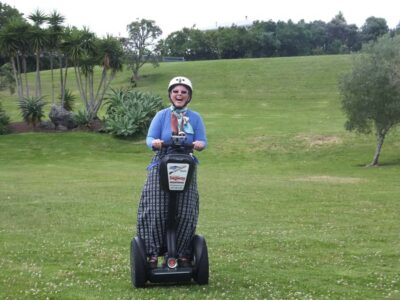
Twelve ways into the same coastline: a boat, a vineyard van, a kayak, a guide who knows which door to knock on. Everything behind each tile is priced, rated and ready to book.
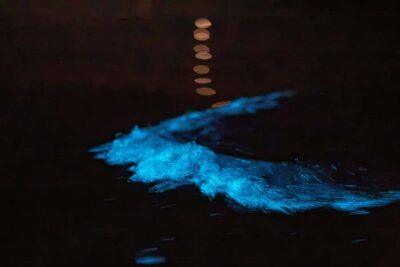


Half the North Island is a day trip.
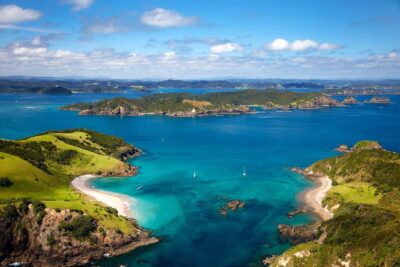
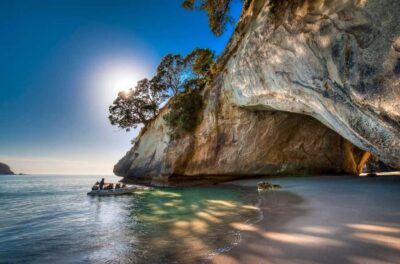
State Highway 1 does the work. Glowworm caves, a geyser field, a movie set on a sheep farm and a bay with a hundred and forty-four islands in it all sit inside a morning’s drive, and the return seat comes with the ticket.
Three days that use the weather.
Auckland’s forecast turns over by the hour, so keep the harbour flexible and drop the inland trip on whichever morning has the clearest sky. This is the order that works.
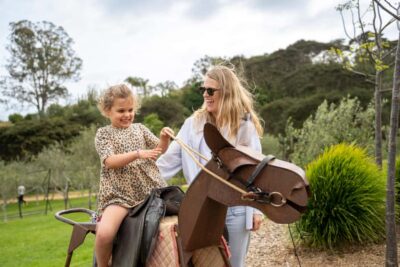 Day 1
Harbour and city
The Devonport ferry for the view back at the skyline, up Maungawhau for the crater, then out past North Head under sail while the jet lag is still doing you a favour.
Plan day one →
Day 2
South to the farm
The early coach to Matamata, the hobbit holes with a guide, then Waitomo’s glowworms on the way home if you booked the long version. Eat whatever lunch is included.
Plan day two →
Day 3
The island day
Thirty-five minutes on the ferry, three cellar doors, a long lunch above Onetangi Bay and the late boat back. Book a guided tour if anyone in the group intends to drink.
Plan the Waiheke day →
Day 1
Harbour and city
The Devonport ferry for the view back at the skyline, up Maungawhau for the crater, then out past North Head under sail while the jet lag is still doing you a favour.
Plan day one →
Day 2
South to the farm
The early coach to Matamata, the hobbit holes with a guide, then Waitomo’s glowworms on the way home if you booked the long version. Eat whatever lunch is included.
Plan day two →
Day 3
The island day
Thirty-five minutes on the ferry, three cellar doors, a long lunch above Onetangi Bay and the late boat back. Book a guided tour if anyone in the group intends to drink.
Plan the Waiheke day →
Just added to the harbour beat.
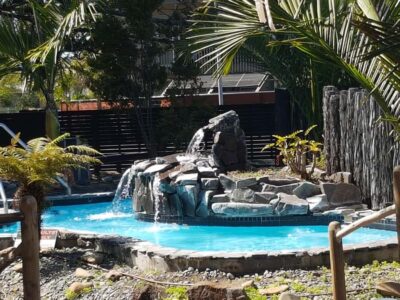 ★ 5.0West Auckland: Sunset with Thermal pool & Wine TastingFrom $2983 reviews
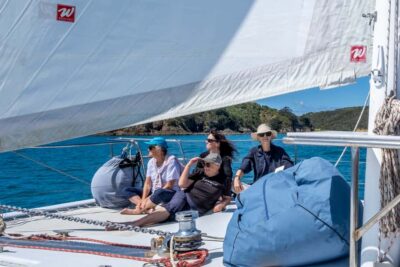 ★ 5.0Waiheke Island: Gulf Marine Park Sailing Adventure & LunchFrom $3884 reviews
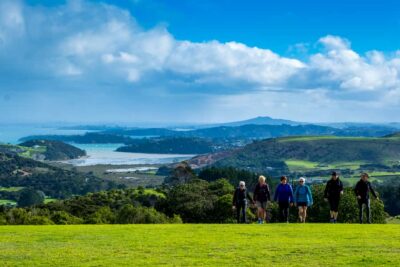 ★ 5.0Waiheke Island: Premium Vineyard, Wine Tasting and Bush WalkFrom $2694 reviews
 ★ 4.5Heke Brewery and Distillery Tour in Waiheke Island with samplesFrom $243 reviews
 ★ 5.0High End Sommelier Tour on Waiheke IslandFrom $9303 reviews
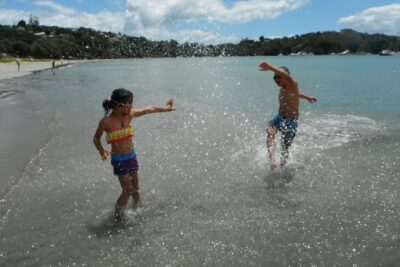 ★ 5.0Private Maori Walking Tour with Wine Tasting and LunchFrom $1744 reviews
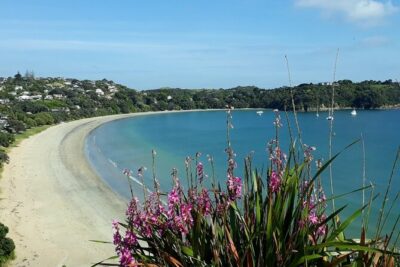 ★ 5.0Waiheke Island Private ToursFrom $1894 reviews
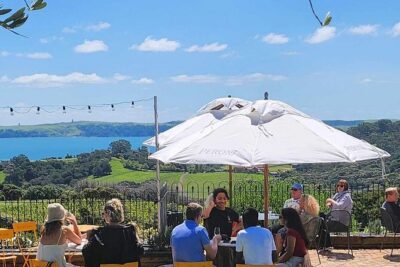 ★ 5.02.5 Hours Wine Tour in Waiheke Island for Cruise Ship TravelersFrom $1304 reviews